
I'm having a lot of fun following Beth at BudgetBytes. Great food and saving money, these are two of my favorite things!
A friend of mine asked me today if I used the bread machine we received as a wedding gift. Actually, I don't. The usual answer for this is that people don't make their own bread. I don't use it for two reasons:
1) My hubs eats a LOT of bread. Seriously. He calls his sandwiches his "tower of power." It's nothing for him to down three or four sandwiches---that's six-eight slices of bread!--at a sitting. The bread maker we have makes these cute little square loaves...which disappear awfully fast. So I started making bread in loaves that last a little bit longer, and double the recipe when I'm feeling especially ambitious.
2) It's about 20 years too late, but I'm really interested in the chemistry of cooking. I like breaking things down to their whole food element to see how they combine and interact together. Yeast in particular has been vexing to me, but I think I found the sweet spot at 95 degrees F.
by Beth at BudgetBytes (click the link above for the cost breakdown and her commentary)
Prep time: 15 min.
Cook time: 30 min.
Rise time: 3.5 hrs
Total: 4 hrs 15 min.
Ingredients:
Ingredients:
- 1 cup whole wheat flour
- 2.25 cups bread flour
- 2 Tbsp brown sugar
- 1.25 tsp salt
- .75 Tbsp yeast
- 1/2 cup raisins
- 1 Tbsp cinnamon
- 1.25 cups warm water
Instructions:
- In a large pot or bowl, combine the flours, brown sugar, salt, yeast and raisins.

- Stir everything until evenly mixed (break up any raisin clumps).

- Add the warm water and stir. If the dough does not come into one cohesive ball (with no dry bits left at the bottom of the bowl) add a little more water, one tablespoon at a time, until it all comes together.
This is my secret to not killing the yeast.

- Loosely cover the bowl and let it rest for 2 hours at room temperature. (Jen says: I'm not sure why the dough is supposed to be covered and I've read that the towel should be wet, dry, hot and cold. I usually use a warm, wet cloth.)

- After two hours the dough will have risen and grown to about twice the size. It will be a rough looking, shaggy ball of dough.

- Turn it out onto a floured surface. Give it maybe one or two turns or "kneads" in the flour just to work in enough flour to keep it from sticking to your hands. Flatten and stretch the dough into a long rectangle. The short side of the rectangle should be the same length as your bread pan, the long side double that.
My son was very disappointed that we didn't have to use the roller.

- Sprinkle the cinnamon over the surface of the rectangle. If you want a sweeter bread, you can sprinkle on some additional brown sugar with the cinnamon.

- Roll the rectangle up and place it in a bread pan coated with non-stick spray.

Your roll should be as wide as your loaf pan, and twice as long.
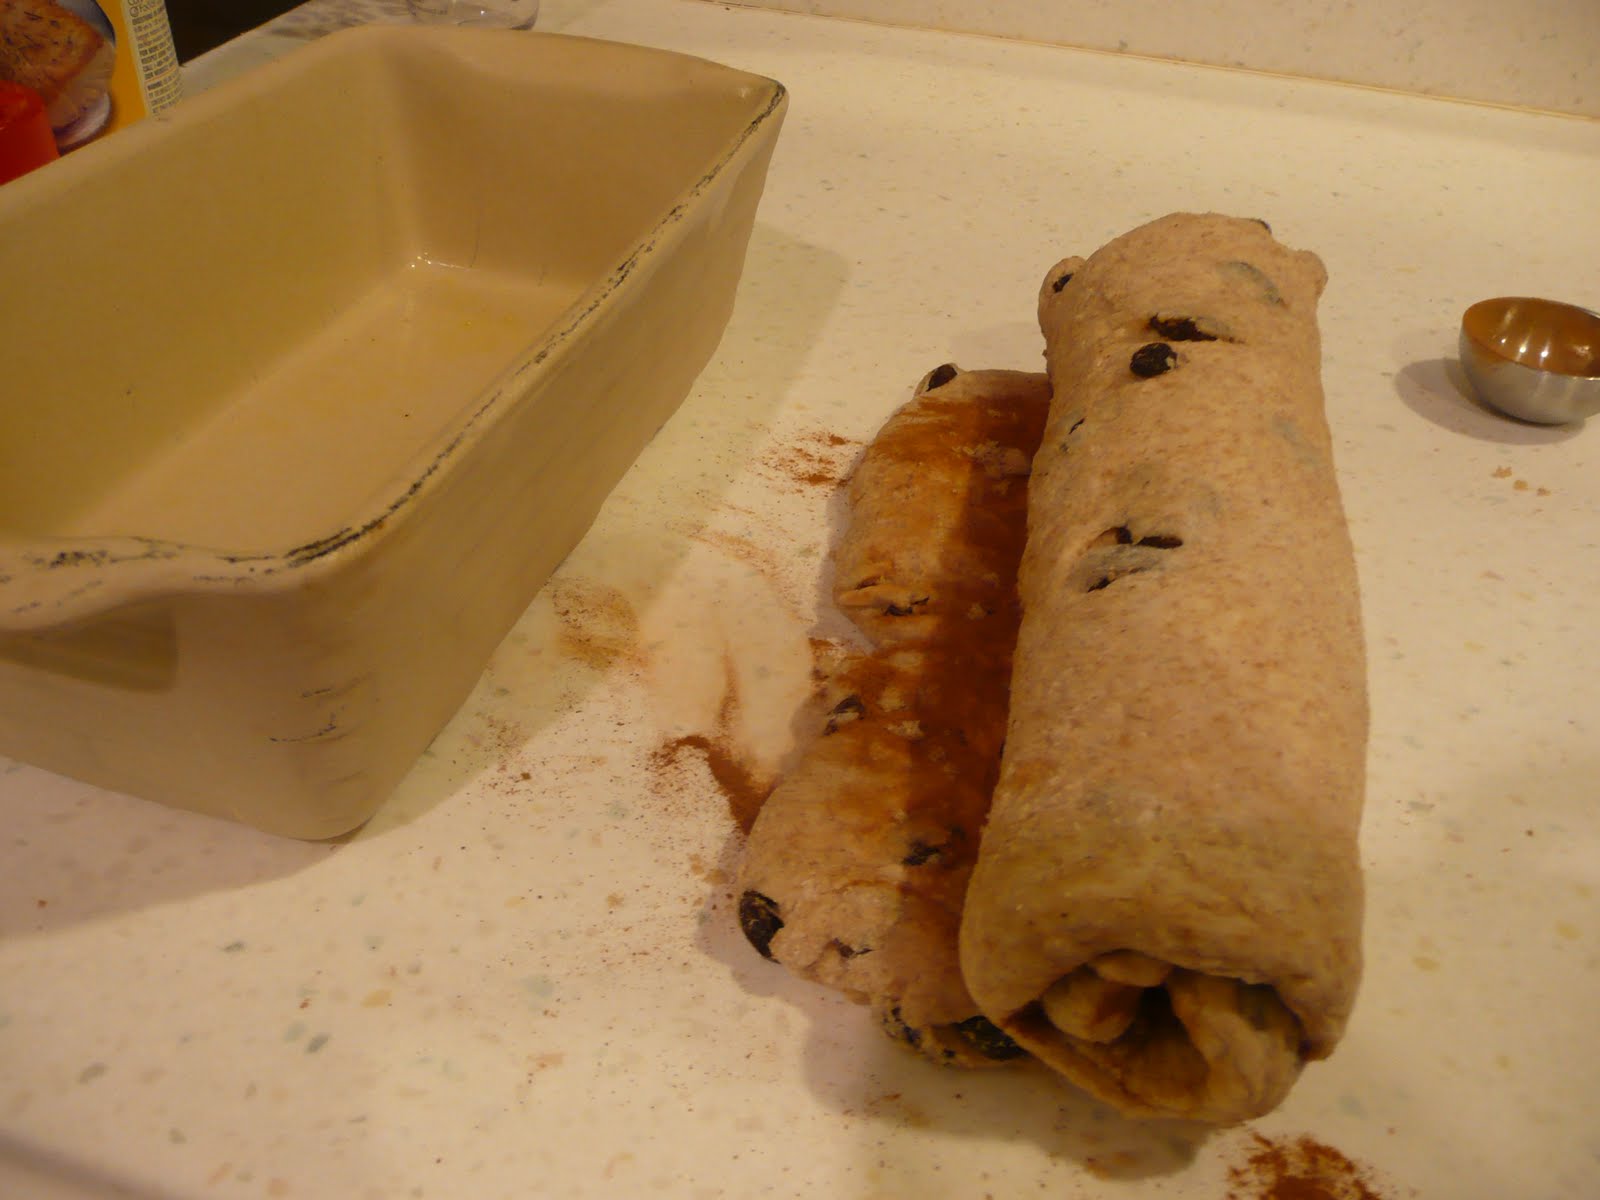
- Let the bread rise for 1.5 hours or until it has risen up and out of the pan.

Oops...I guess I didn't roll evenly!
- Preheat your oven to 425 degrees.
- Brush the top of the bread with water and bake for approximately 30 minutes or until the top is a deep golden brown.
- After baking, turn it out of the bread pan onto a wire cooling rack. Let cool completely before slicing.


- When you roll the dough up, stretch as you roll... the more it's rolled, the more swirl you'll have.
- I sprayed the top of the loaf lightly with non-stick spray before letting it rise so that the top would stay pliable and allow it to expand.
- A few chopped nuts would also be AH-MAZ-ING in there... mix them in with the dry ingredients in the beginning.
No comments:
Post a Comment